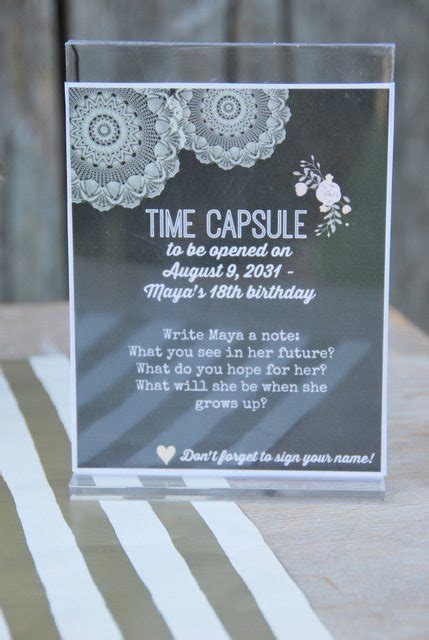
Title: Baking Time-Capsule Letters into 18th Birthday Cake
As the years roll by, it is only natural to reflect on the journey of growth and the countless memories made. The 18th birthday is a significant milestone, symbolizing the transition from adolescence to adulthood. It is a day filled with celebration, laughter, and the promise of new beginnings. This year, why not add a personal touch to the festivities by baking time-capsule letters into an 18th birthday cake?

The idea of incorporating time capsules into cakes is not new, but making them a part of the birthday cake is a unique and creative way to share thoughts, emotions, and memories with the birthday celebrant. Here’s a step-by-step guide on how to bake time-capsule letters into an 18th birthday cake:
### Materials Needed:
– 1×18-inch round cake pan
– Cake batter (recipe of your choice)
– Baking ingredients
– Envelopes
– Stamps
– Letters (written by friends and family)
– Clear plastic bags or ziplock bags
– Parchment paper
– Non-stick cooking spray
– Whipped cream or buttercream frosting
– Decorations (optional)
### Instructions:
1. **Prepare the Letters:** Write your letters and place them in envelopes. Make sure the envelopes are sealed properly and stamp them with a memorable date, such as the 18th birthday or the year of writing the letter.
2. **Prepare the Cake Pan:** Coat the inside of the cake pan with non-stick cooking spray. Cut out circles of parchment paper that fit snugly onto the bottom of the pan, and place them in the bottom.
3. **Bake the Cake:** Follow your chosen cake recipe to prepare the batter. Preheat your oven to the required temperature, and pour the batter into the prepared cake pan. Bake according to the recipe instructions until a toothpick inserted into the center comes out clean.
4. **Cool the Cake:** Allow the cake to cool in the pan for 10-15 minutes before transferring it to a wire rack to cool completely.
5. **Prepare the Time-Capsule Letters:** Place each sealed envelope inside a clear plastic bag or ziplock bag to protect them from moisture. Secure the bags with a piece of tape or a staple.
6. **Insert the Letters into the Cake:** Using a knife or a skewer, gently make a small hole in the cake. Carefully insert the sealed bag with the letter into the hole, ensuring it doesn’t touch the edges of the cake. Repeat this process until all the letters are placed in the cake.
7. **Frost and Decorate the Cake:** Once the cake is cool, frost it with your preferred frosting, such as whipped cream or buttercream. Decorate the cake with your favorite toppings or decorations, making sure the time-capsule letters are visible.
8. **Seal the Cake:** Place the cake in the refrigerator to set the frosting and keep the letters in place. Make sure the cake is stored in a cool, dry place until the 18th birthday celebration.
On the birthday, when it’s time to cut the cake, the celebrant will discover the letters hidden within. These time-capsule letters will serve as a heartfelt reminder of the love, advice, and well-wishes from friends and family. It’s a beautiful way to cherish the moment and the people who matter most.
Baking time-capsule letters into an 18th birthday cake is not only a delicious treat but also a cherished keepsake. It’s a heartfelt gesture that combines the joy of celebrating a milestone with the promise of future reflections. Enjoy the baking process and the precious moments you create!
